SHELLY NIEHAUS
COACHING
Hi there! I'm Shelly Niehaus, and I help women over 40 build a business they love—without losing themselves in the hustle.
I work with women who are amazing at their craft but struggle with staying focused, showing up consistently, or knowing what to do next.
Together, we simplify your strategy, build better habits, and create a plan that fits your real life—so you can grow your list, attract aligned clients, and finally feel confident in how you're showing up.
Client Attraction Clarity Call
Are you struggling to determine the best strategy to attract new clients to your business? You have so many ideas and options for marketing that you are not sure where to focus to create the momentum you desire for your business.
In this call, we will assess your current situation and determine where you are struggling. I will tell you my next step if I were you. You will walk away with a strategy and confidently know your next right thing!
FREE RESOURCES
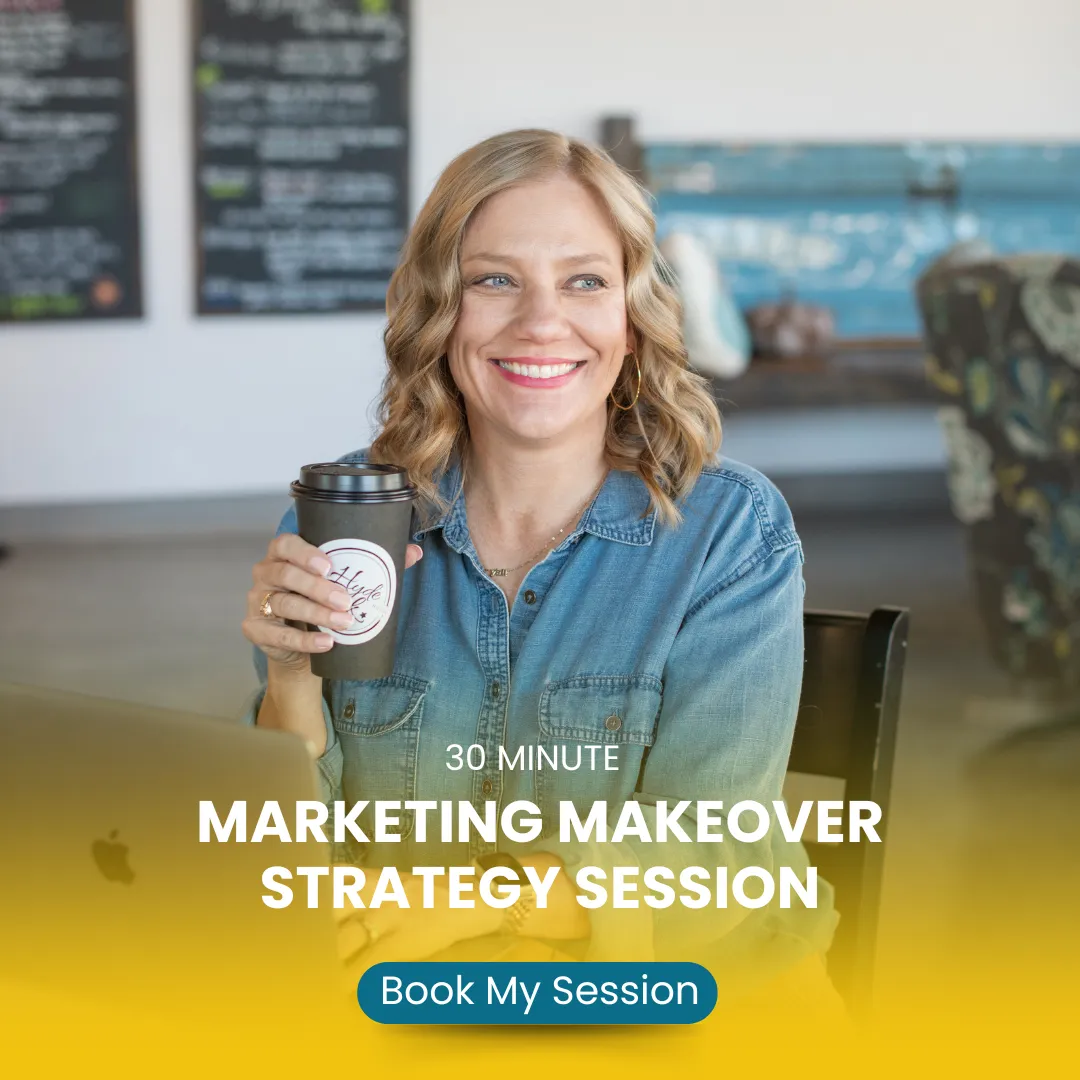
Marketing Makeover Strategy Session
A complimentary 30 min Marketing Makeover Strategy Session. I will help you brainstorm ideas your business growth!
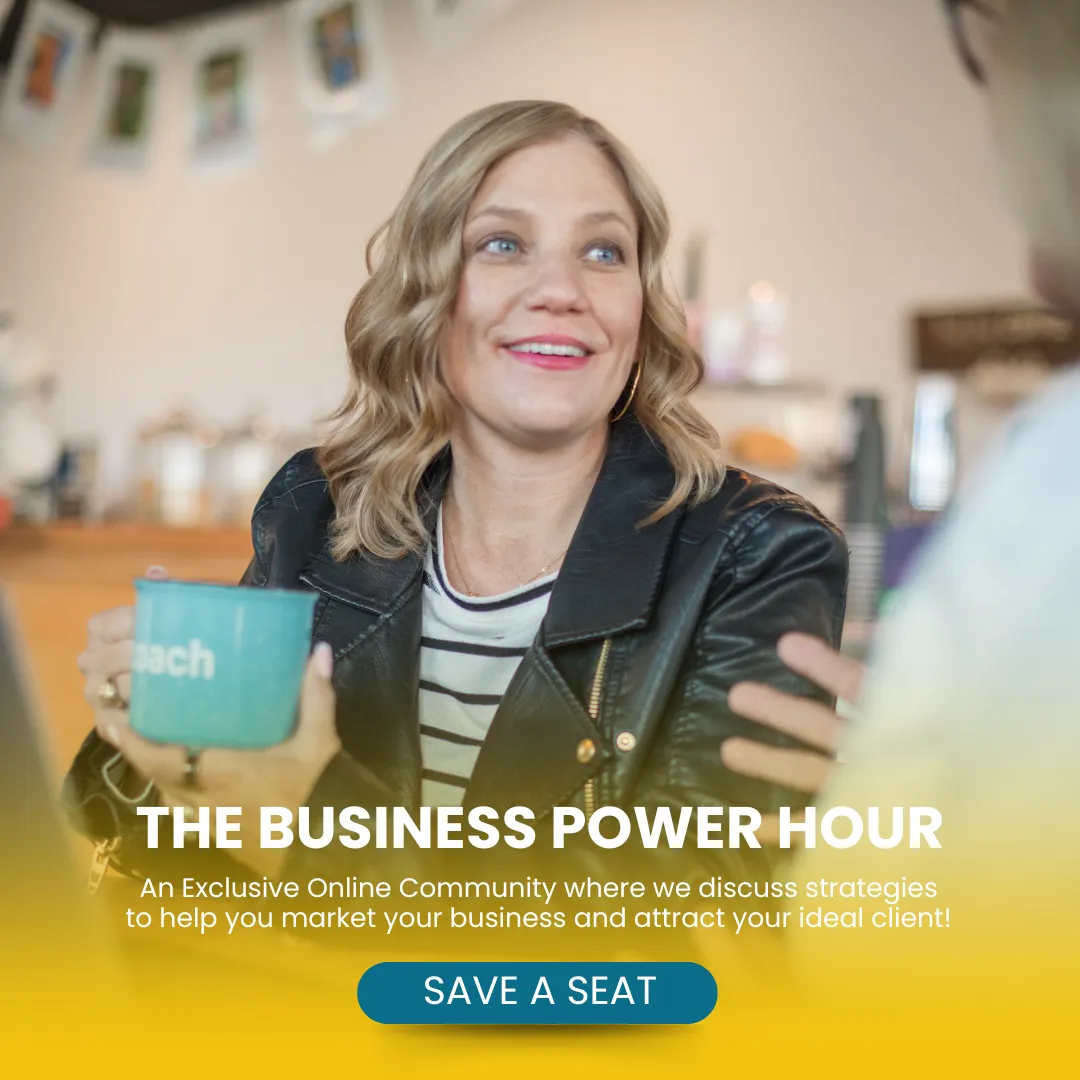
Business Power Hour
My exclusive online monthly workshop where I share my latest tools and strategies to grow your business and earn more income. Each month I host a FREE live private training on Zoom.

Women's Prayer Call
Are you looking for a dose of divine inspiration for your business journey? Every Tuesday at 8AM MT (9AM Central), we’re gathering on Zoom – just us ladies, trying to navigate the intersection of faith + entrepreneurship + mindset.
COACHING SERVICES
Are you looking to grow your business but are overwhelmed by all of the marketing information online? Do you lack focus in your marketing and struggle with consistency? If so you are in the right place! After years of struggling in my small business I finally learned the secret to good marketing. Once I implemented the simple strategies into my business, I increased my sales by 3X. I want to help you find similar success!

1:1 BUSINESS COACHING
As your business coach, I will help you determine your current roadblocks to attracting new clients and building momentum in your business. We will develop a step-by-step strategy for your success. You will receive the STRATEGY and ACCOUNTABILITY you need to build your dream business!

LIST BUILDING COURSE
Make 2025 the year you start building your email list and reach your audience where they are paying attention with content they care about!

GROUP COACHING
Discover the coaching program for female entrepreneurs over 40 that will help you reach your goals, connect with other like-minded women, and create a thriving business. Empower yourself to take action and build the business and life you have been dreaming of.
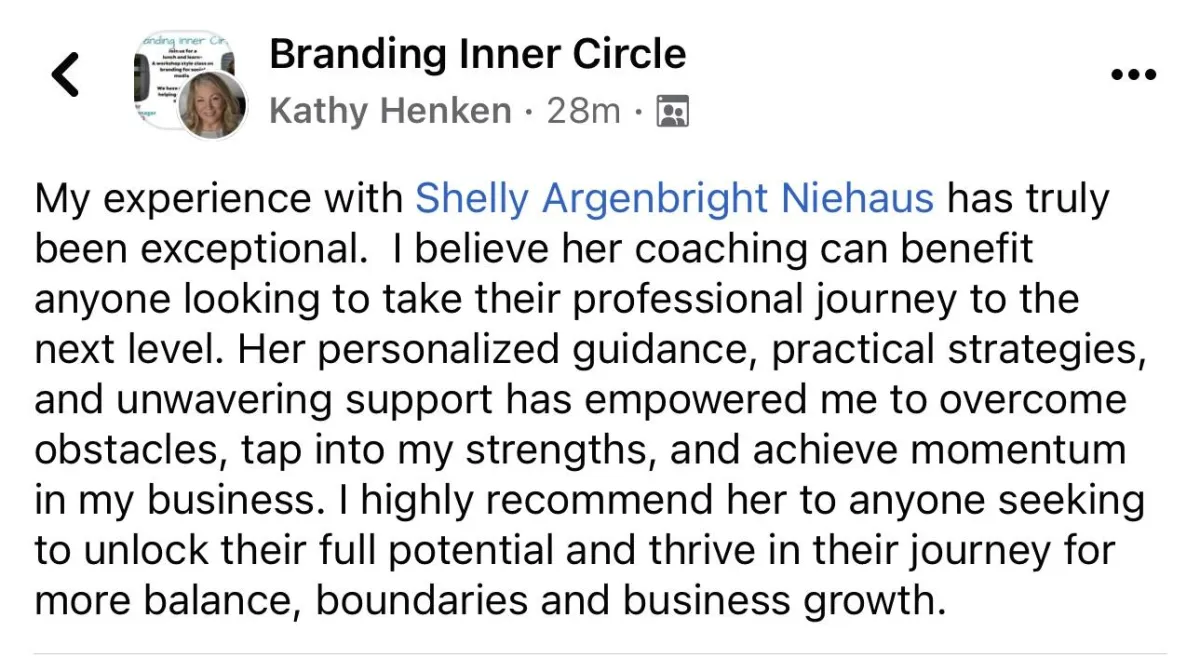
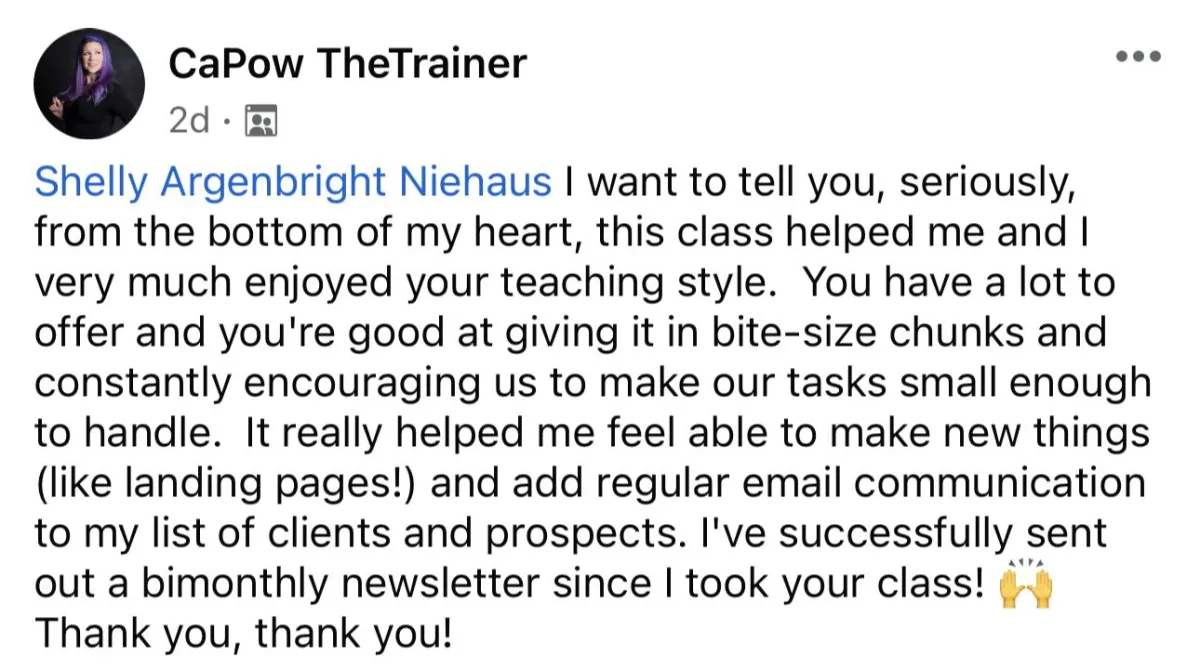
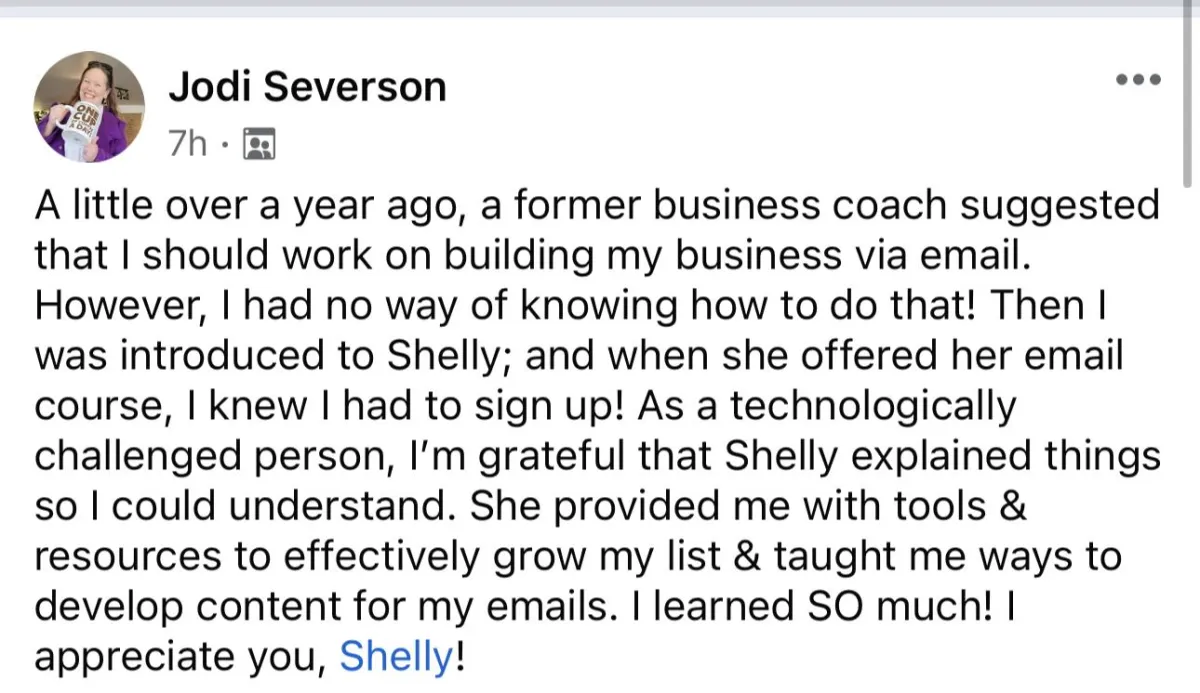
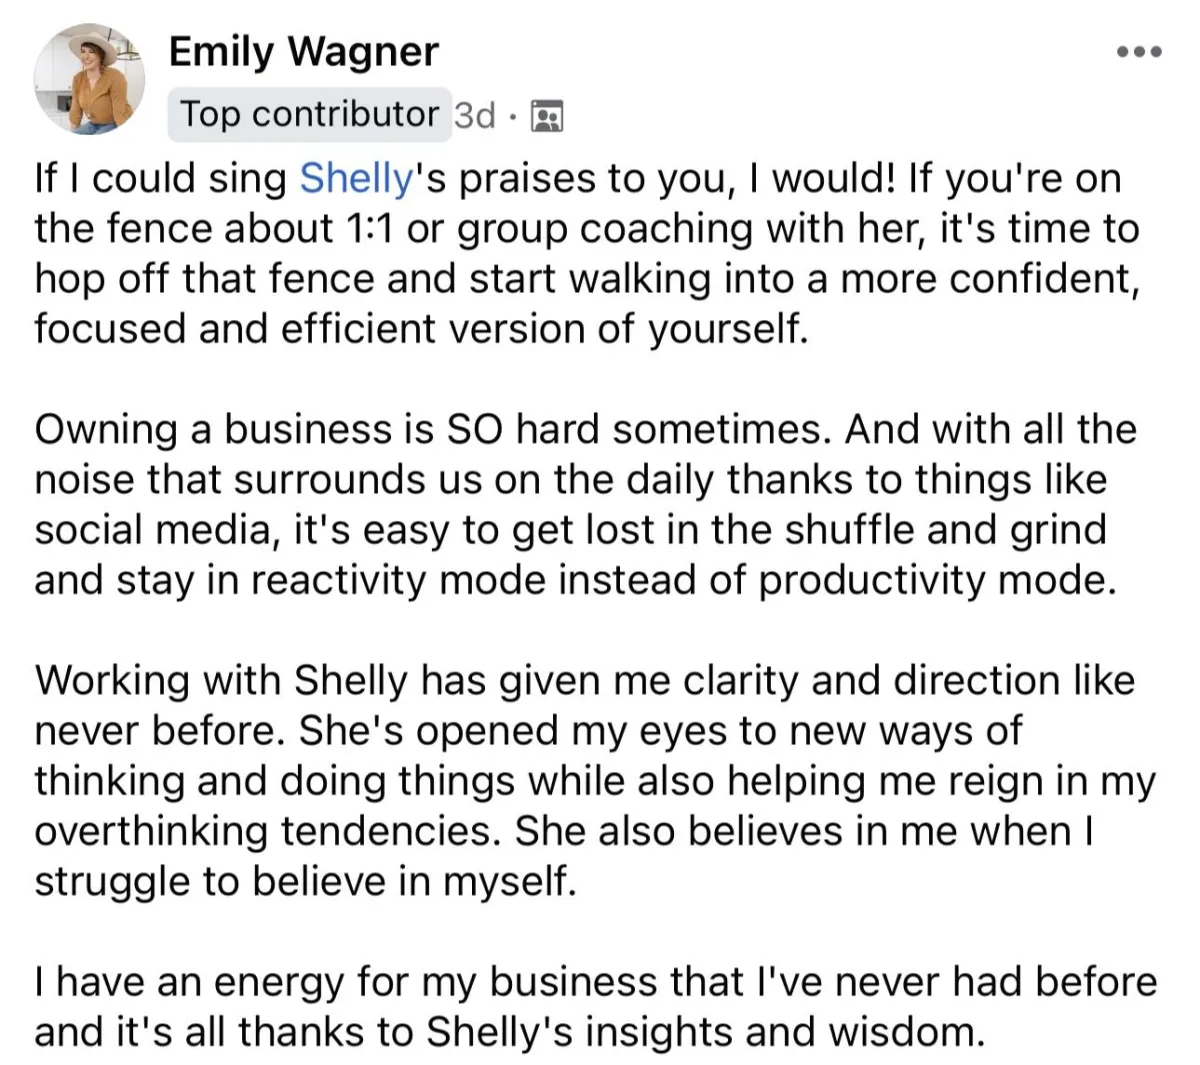
What others are saying . . .
Copyright 2022 - 2025 | Shelly Niehaus Coaching | Terms & Conditions | Privacy Policy